Getting Started
Deployment
Introduction
When you’re ready to deploy your Elegant application to production, there are a number of cloud platforms that will seamlessly host your Elegant application. In this guide, we will show you how to easily deploy your Elegant application to Vercel.
Vercel, formerly Zeit, is an American cloud hosting provider, as well as the maintainer of the Next.js web development framework.

Node.js Version
The Elegant framework only requires that your project use Node.js 16 or 18.
Easy Deployments with Vercel
Vercel is an end-to-end cloud platform for developers that allows you to deploy your Elegant applications with ease.
Prerequisites
To sign up for Vercel, visit Create Account. You can choose to authenticate either with a Git provider or by using an email. When using email authentication, you may need to confirm both your email address and phone number.
Creating & Deploying Your Application
Once you have successfully signed up for Vercel and connected with your Git provider, you’re ready to start creating a Project.
1. Create a New Project
Click “Create a New Project” inside of the Vercel dashboard.
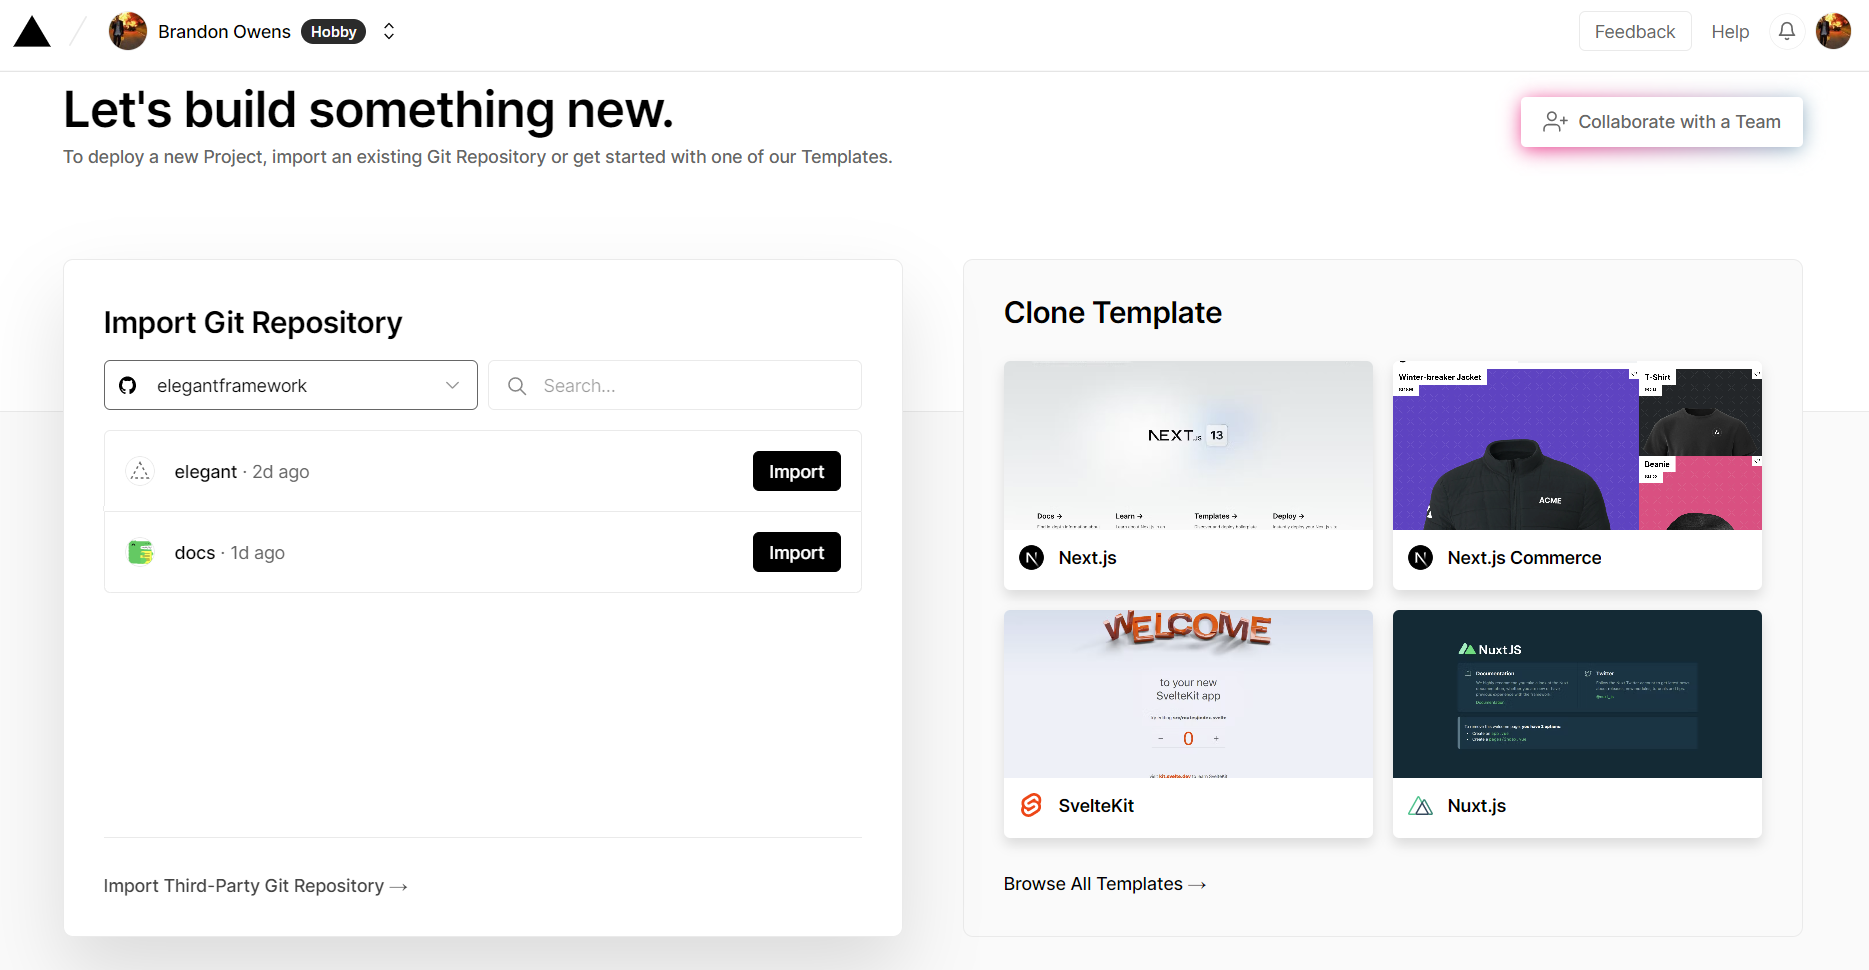
2. Select your Elegant application
Select the Elegant application that you would like to deploy to Vercel.

3. Verify the configuration settings for your application
You can skip setting environment variables for now. We will configure the environment variables in a later step.
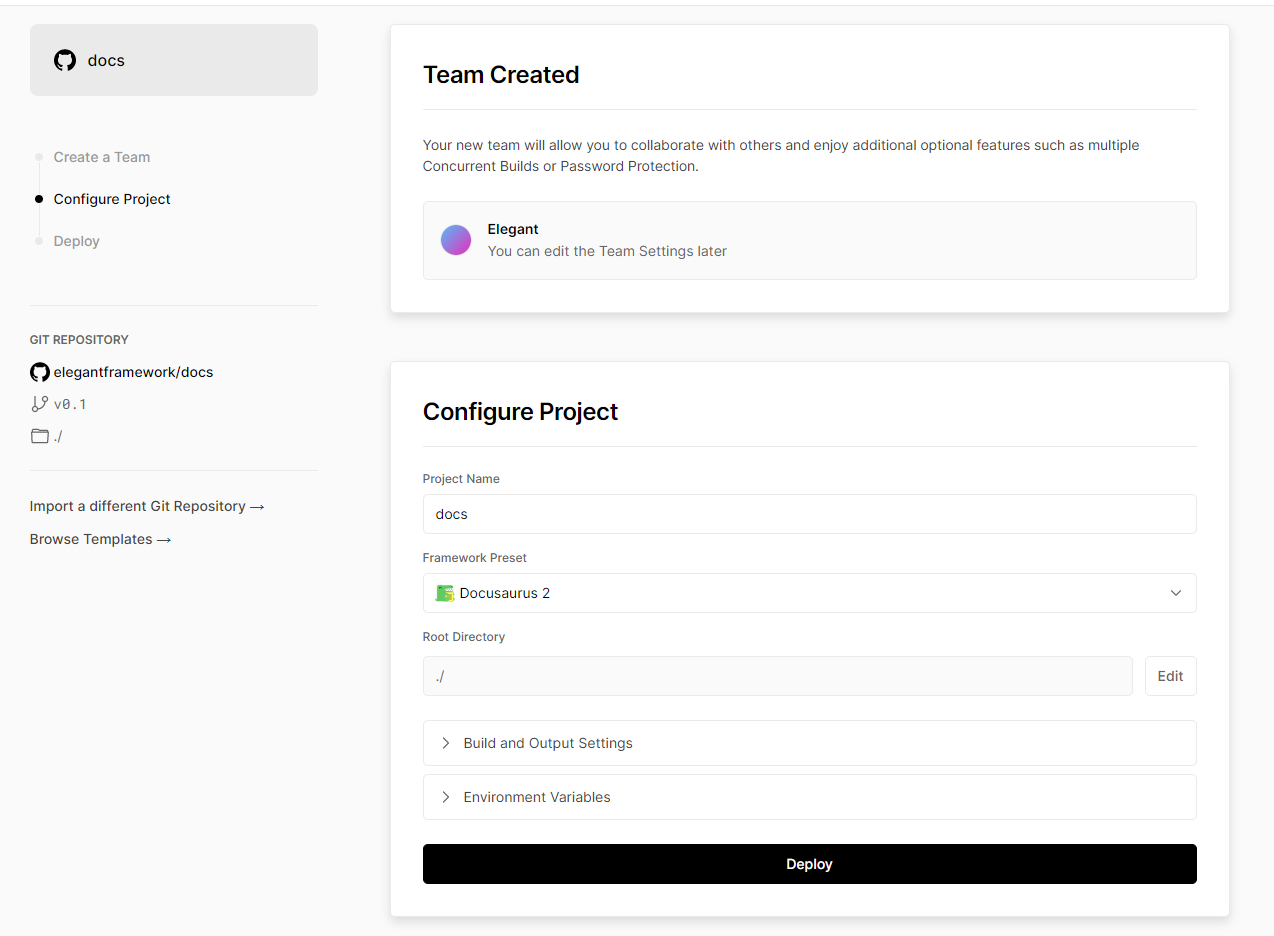
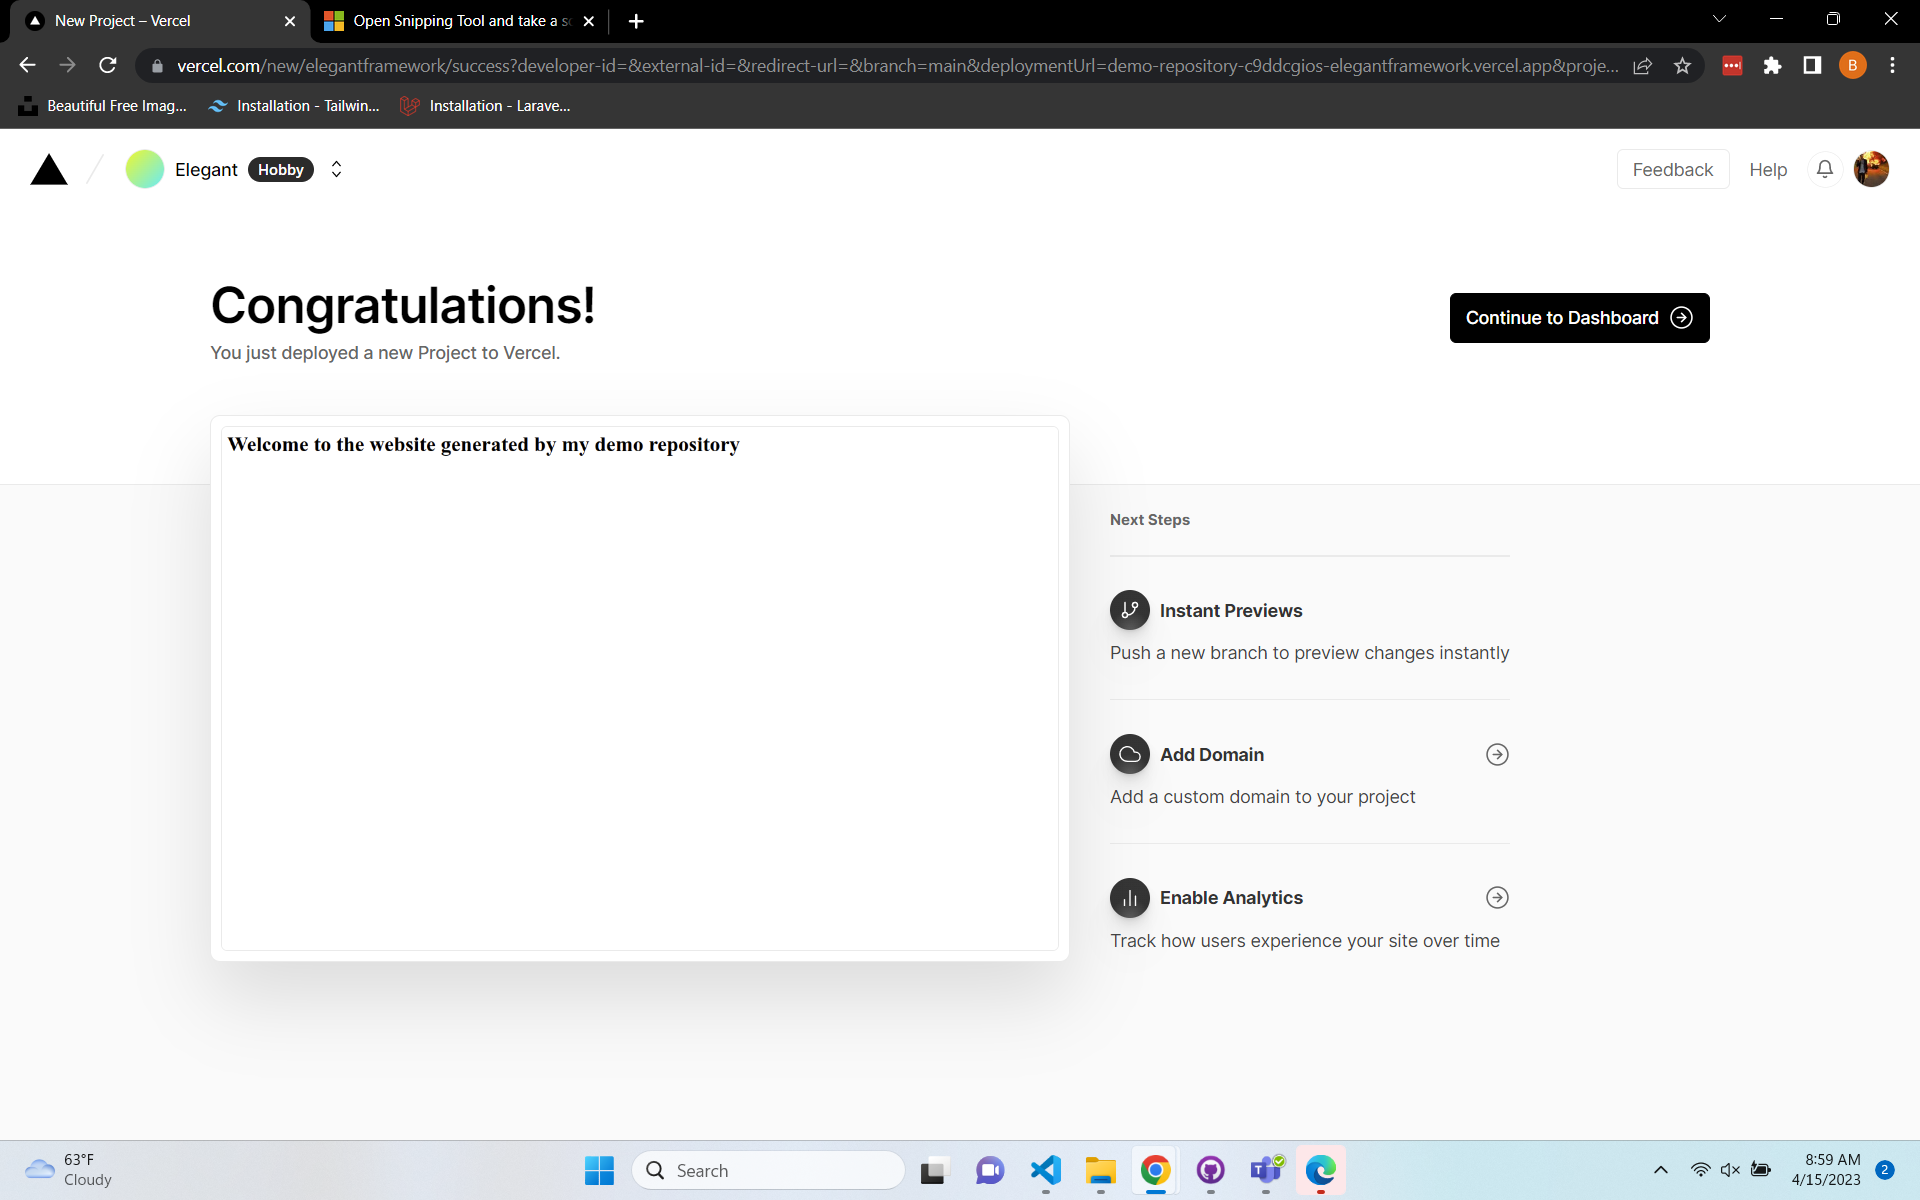
4. Click Deploy
Wait for the build and deployment steps to be completed.
If you into any issues during deployment, you can inspect the build console output to troubleshoot and resolve any deployment errors.
Connecting your Domain to Vercel
To connect your custom domain to your Vercel account, follow the steps listed below.
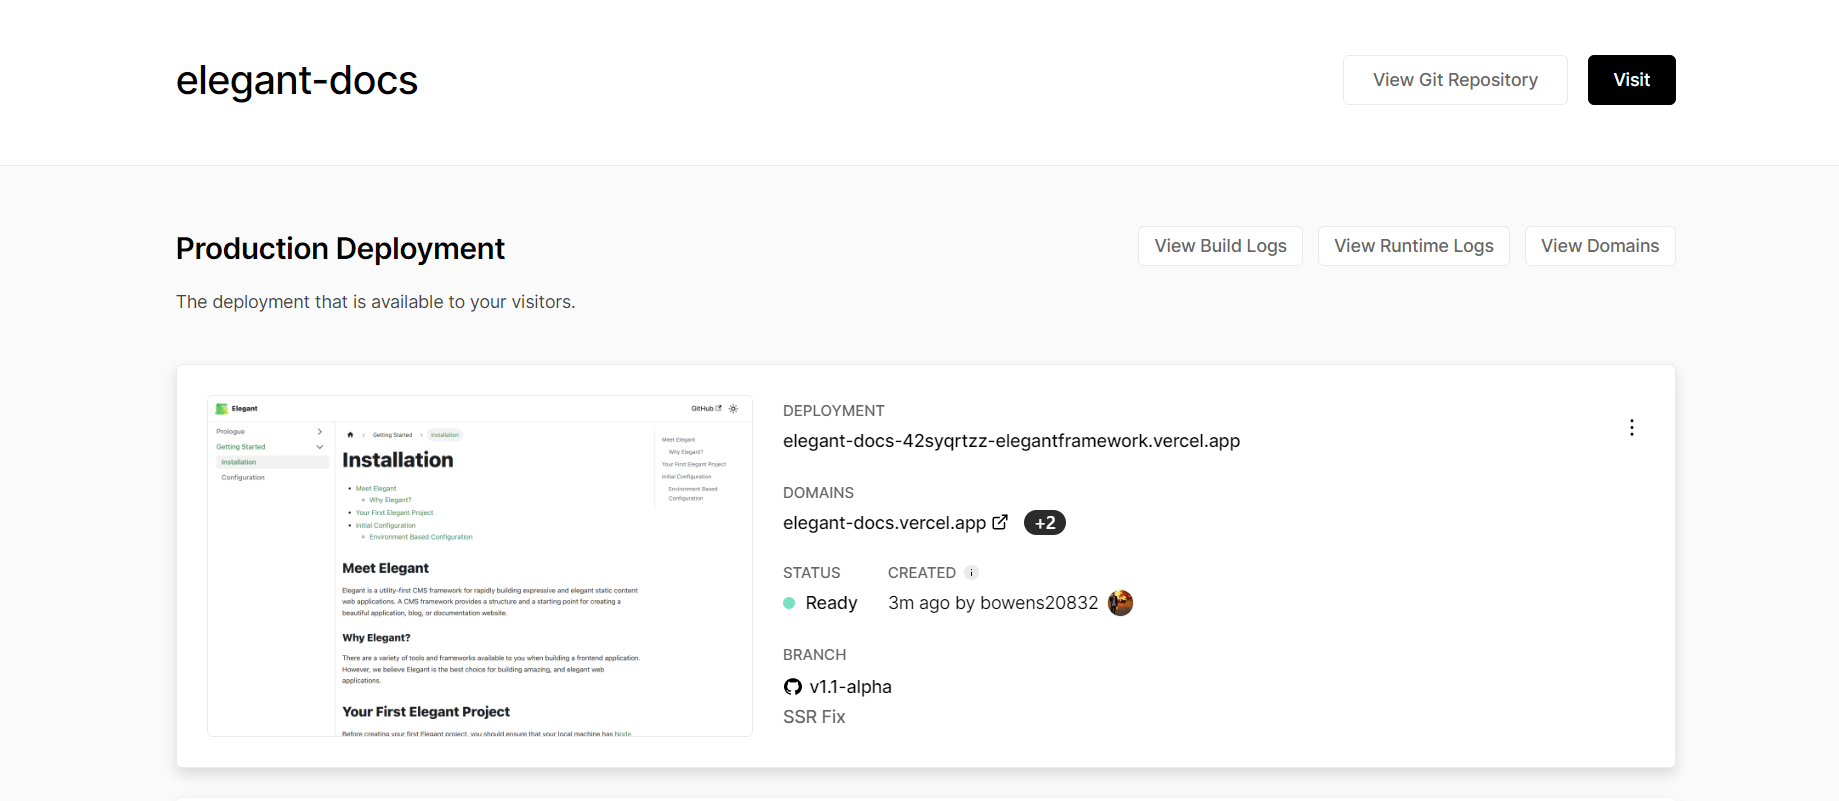
1. Navigate to your project
Navigate to your project within the Vercel.com dashboard. On the overview page of your Vercel project, click the “View Domains” button on the right side of the page.
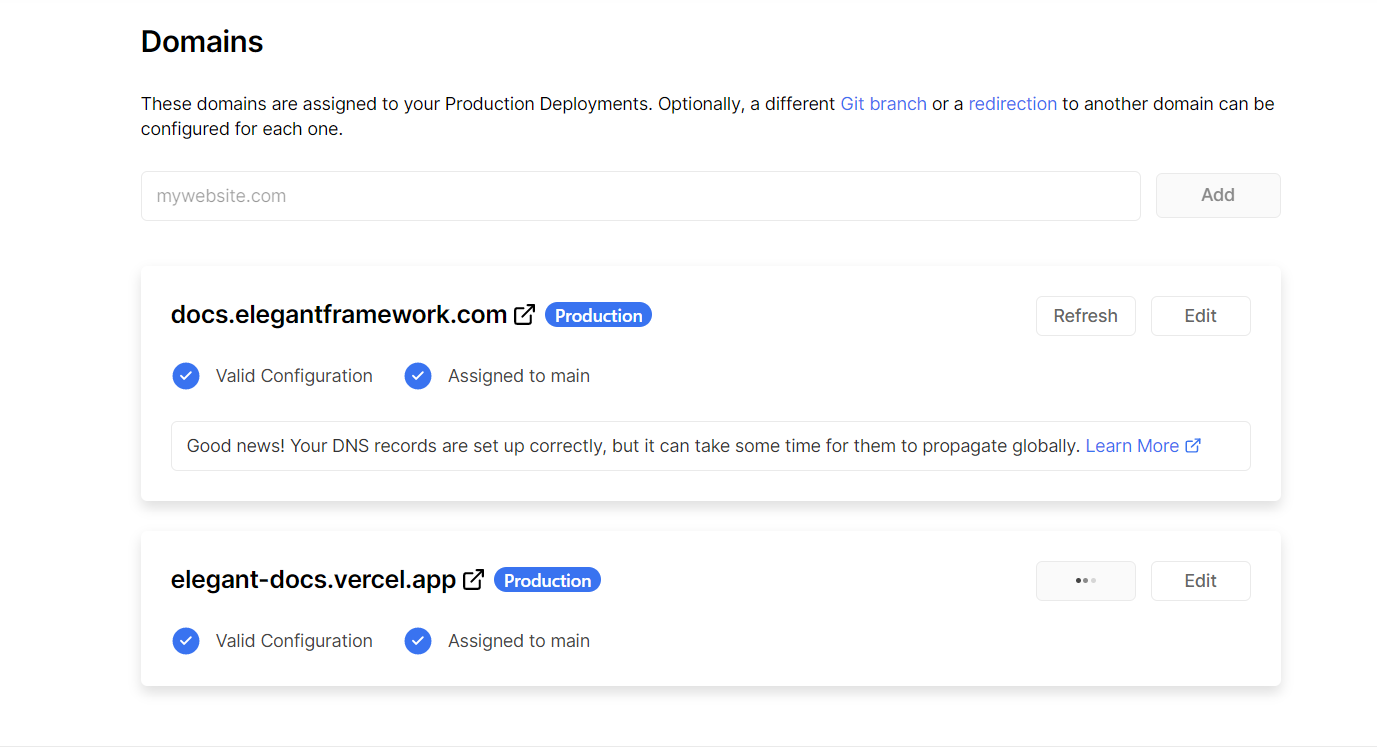
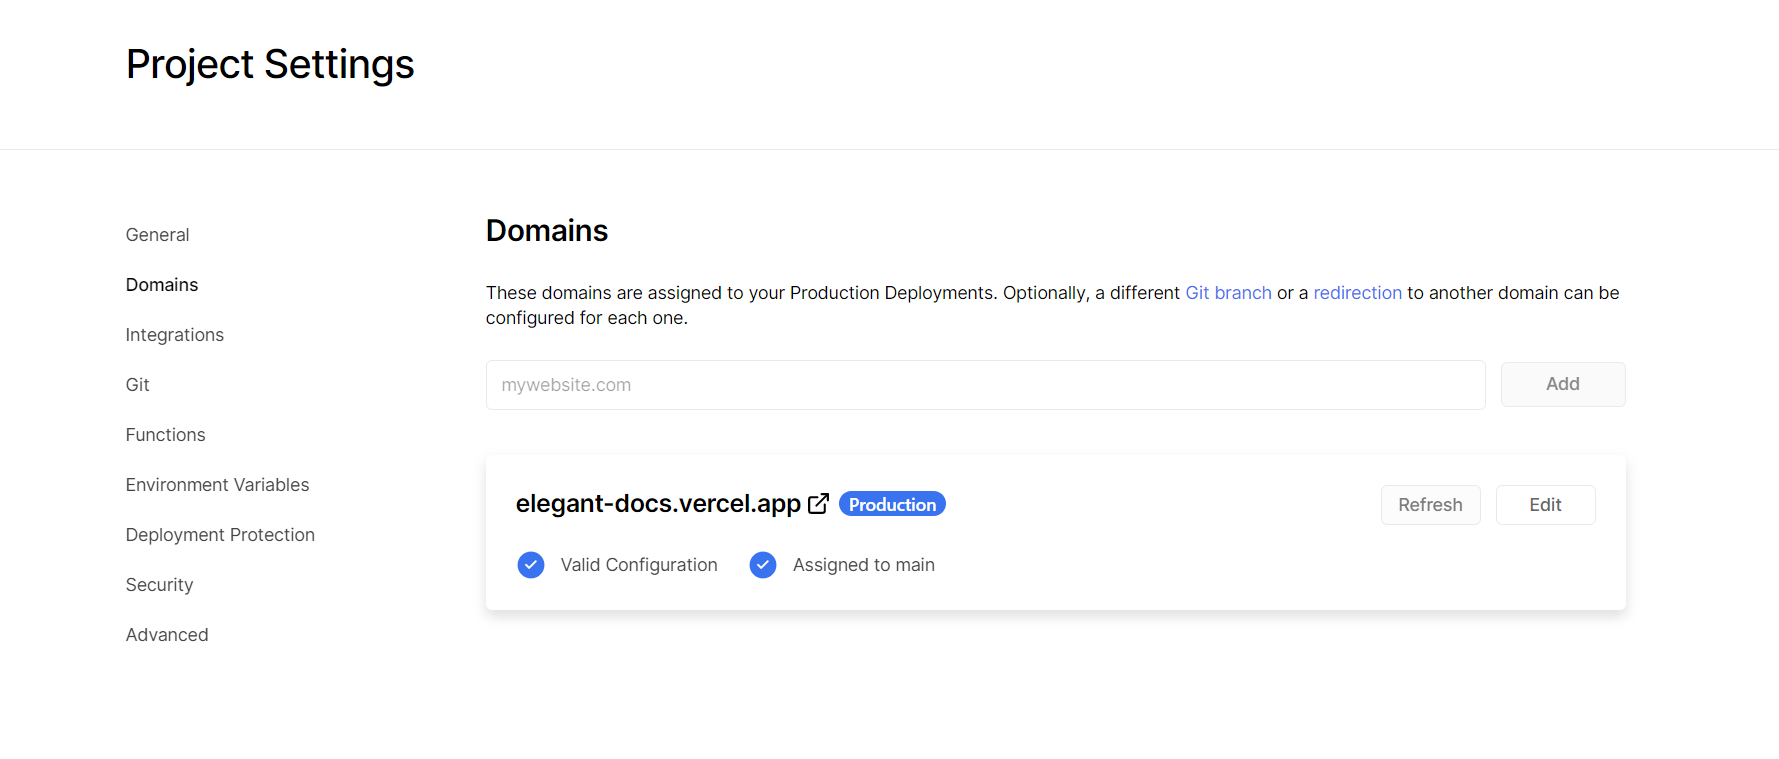
2. Enter your custom domain name
Enter your custom domain name into the text field and click “Add”.
3. Complete any instructions provided to you by Vercel
Follow any instructions provided to you by Vercel to finish setting up your custom domain.
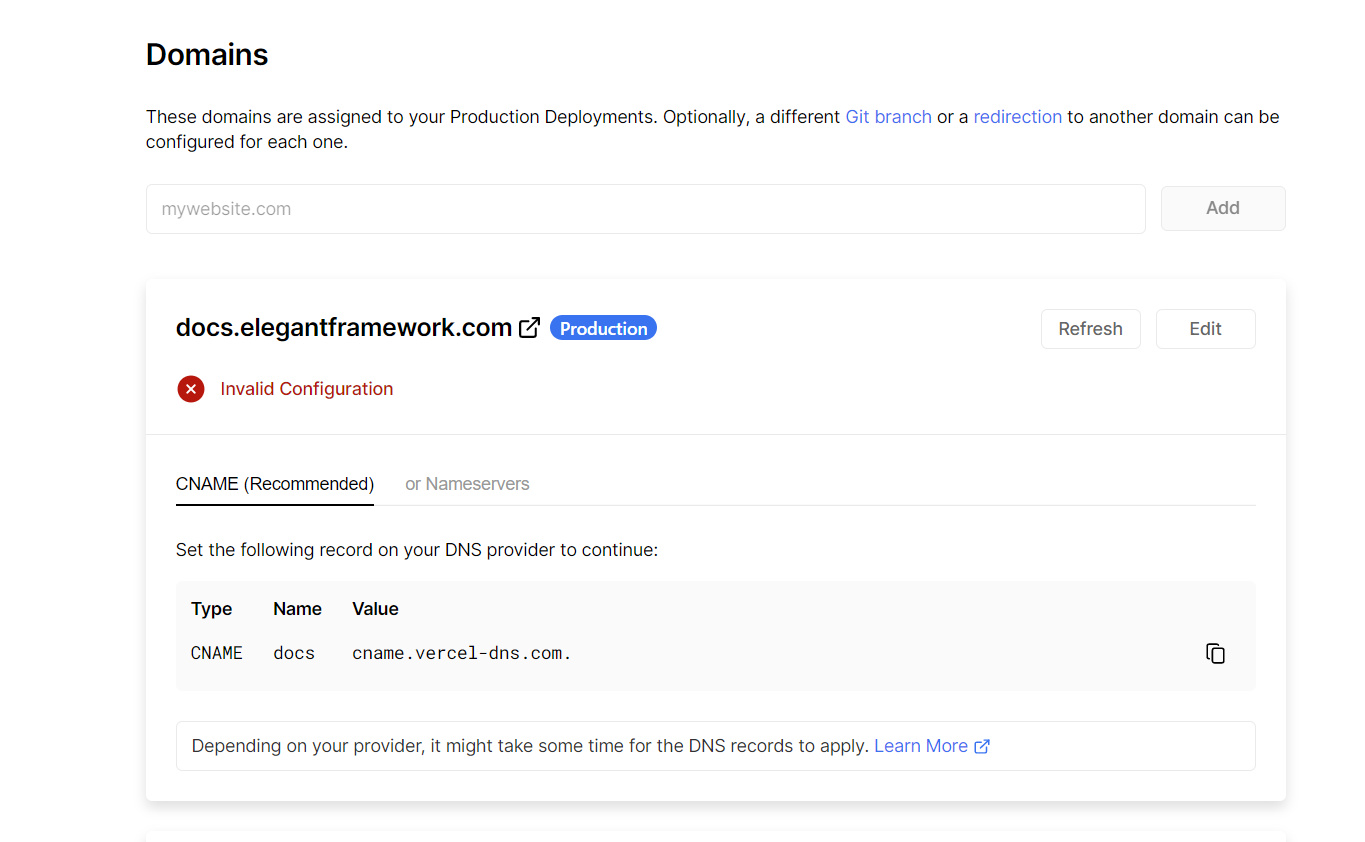
4. Wait for Vercel to verify your configuration settings
Once the domain configuration settings are set up correctly, you will no longer see an invalid message. Instead, you will see a “Valid Configuration” message with the option to view your live domain.